When it came to introducing solids to my first child, I was adamant about preparing homemade meals and offering as…

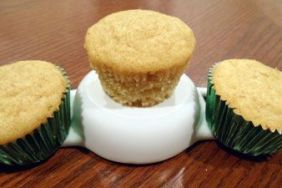
You have to try this breakfast recipe! This is a quick and easy way to make 12 little meals all…
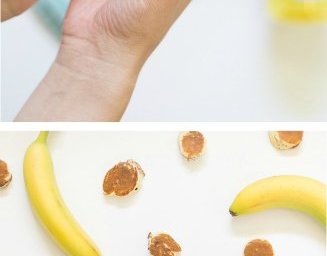
Banana Pancakes Recipe Is it just me or do we always seem to buy one banana too many? These banana…
LATEST RECIPES
Making Healthy, and even Organic, Baby Cereal is very easy! Parents have a lot of questions concerning making Homemade Baby…
Is the 4 day wait rule really necessary? Have you been told to abide by or toss it out the…
Recipes for Your 10 – 12 Month Old Baby – Let’s Start with Fish! Tasty and Adventurous Recipes for Older…
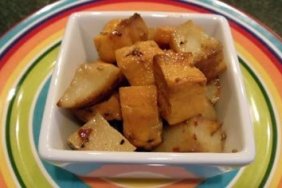
If you have read the White Potatoes for Baby Food page on the main WBF website, you know that I…
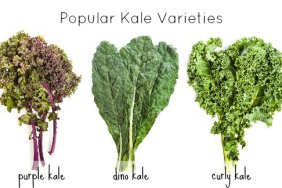
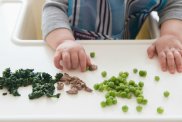
Image: Getty Kale for Baby Food , How to Give Baby Kale Kale is a yummy and healthy choice for…
A Quick Introduction to Homemade Baby Food As you browse through this homemade baby food recipes website, one thing you…
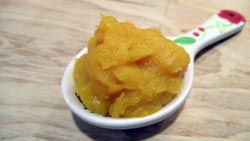
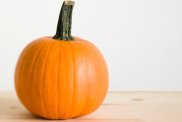
Pumpkin is true favorite of all the Fall/Winter squash that are out there. Pumpkin reminds me of early Fall, the…
*Sniffle* I just used the last of my frozen roasted pumpkin puree from the Fall pumpkin harvest 🙁 But oh…

In the late 1920′s, canned fruits and vegetables were gaining popularity as they became more affordable and offered a break…
If you are looking for a bright and tasty way to fix quinoa, then this recipe is definitely for you!…
Healthy & Wholesome Baby Food
Popular Content